Face Pull
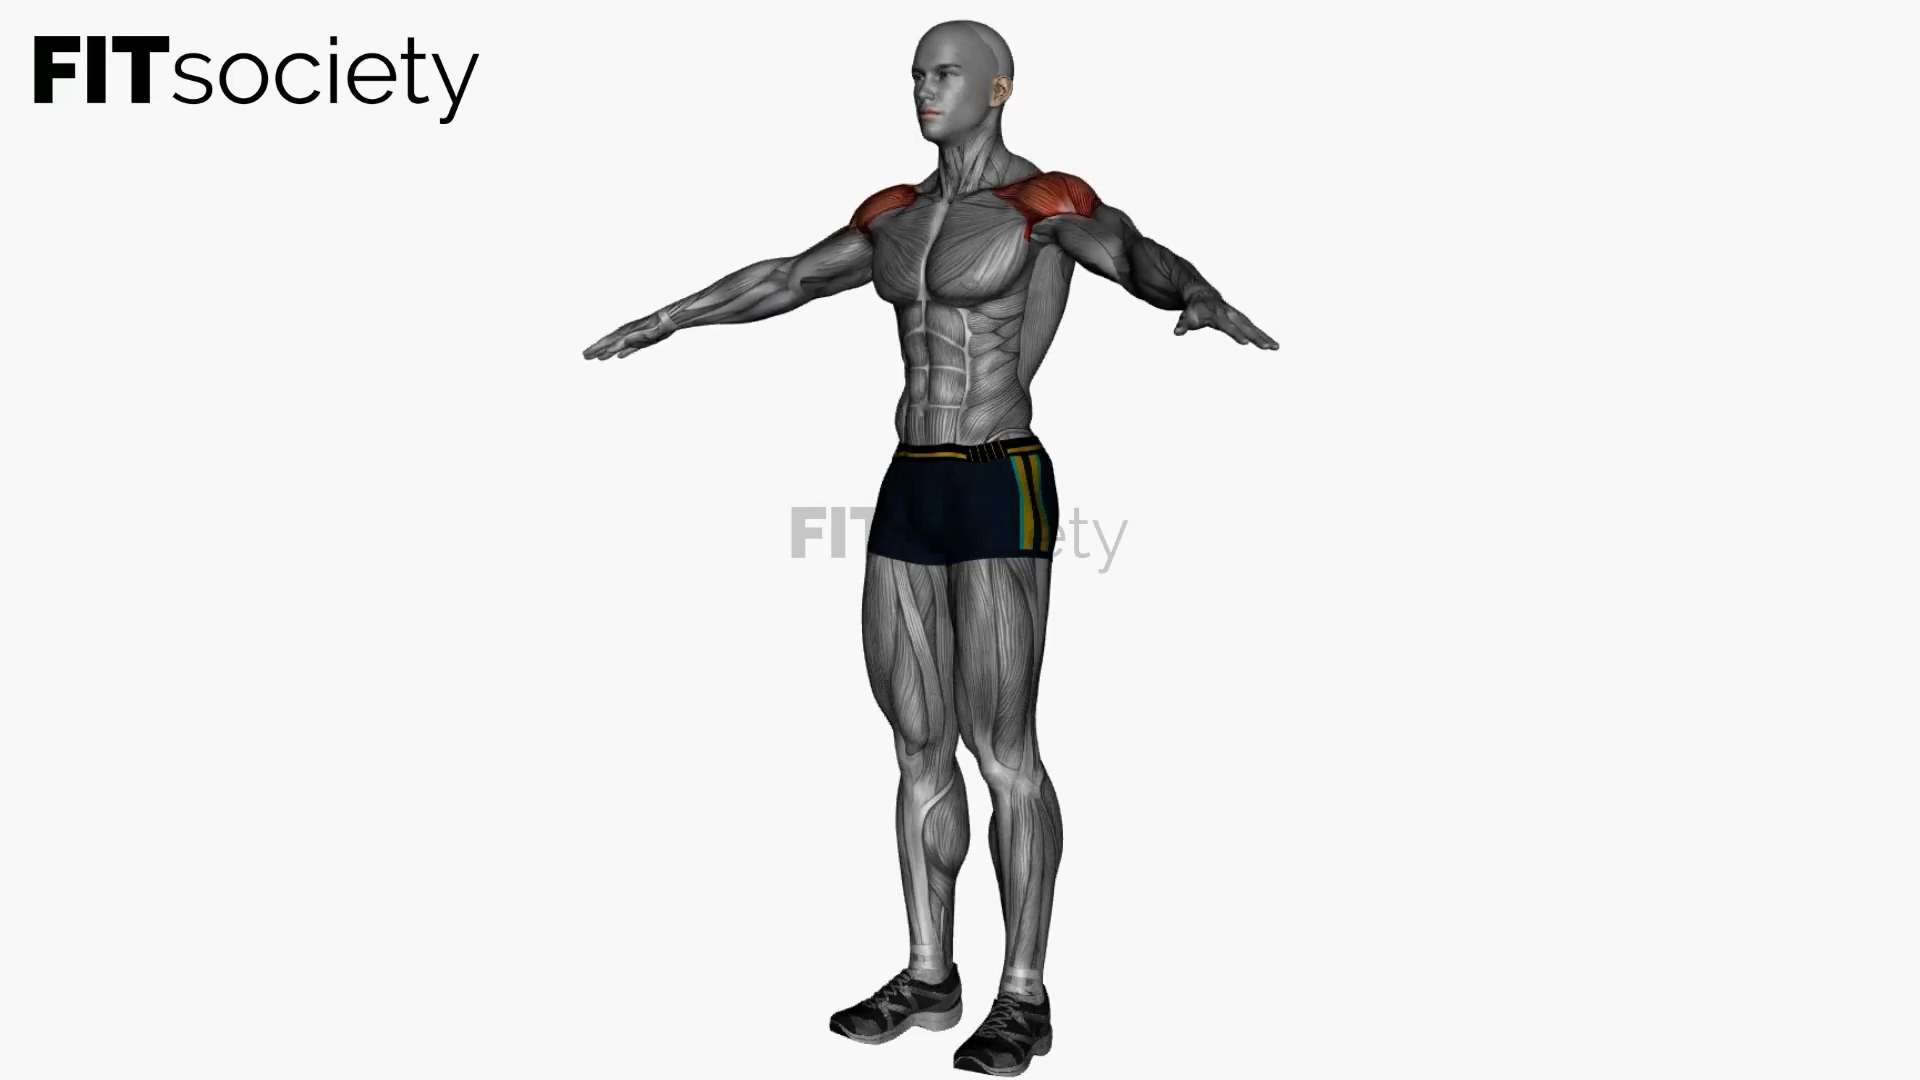
The face pull is an exercise that primarily targets the middle and rear heads of the deltoid (shoulder muscle). Although the rear head does most of the work, the middle head of the shoulder is also strongly activated. Some research suggests that this exercise may target the outer shoulder even more than lateral raises (also called side raises).
Naturally, assisting muscles are involved as well. The (upper part of the) trapezius and the levator scapulae assist in elevating the shoulder blades. The biceps, brachialis, and brachioradialis assist in bending the arm. Depending on the form, this assistance may be modest or significant.
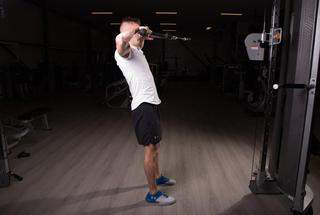
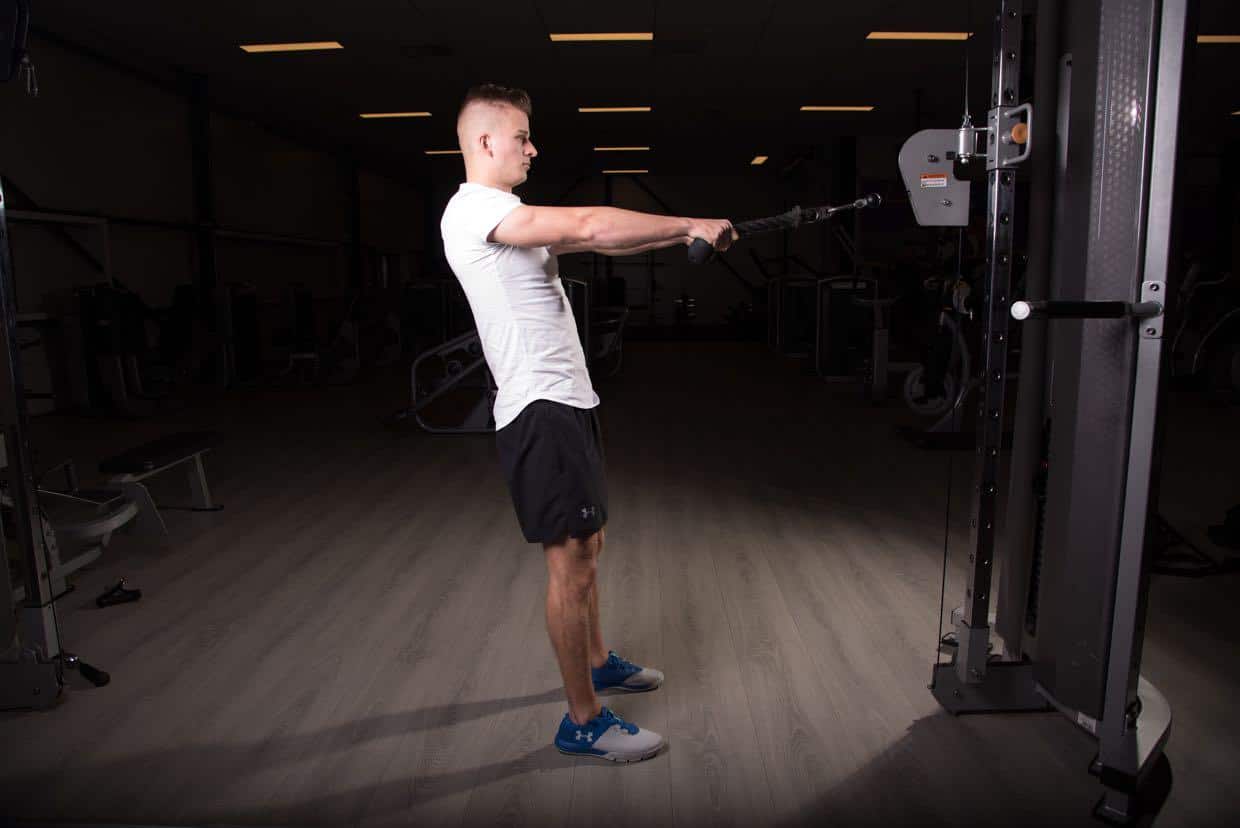
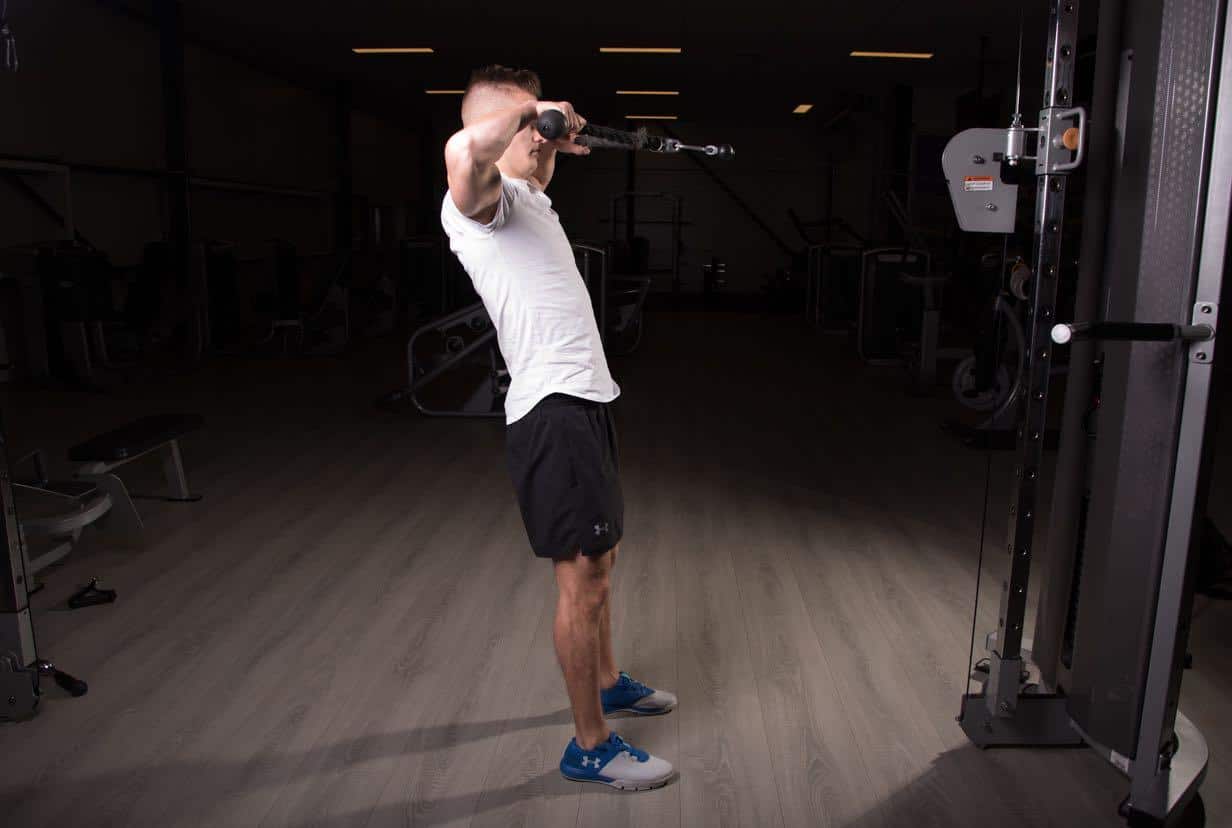
Face pull execution
-
1
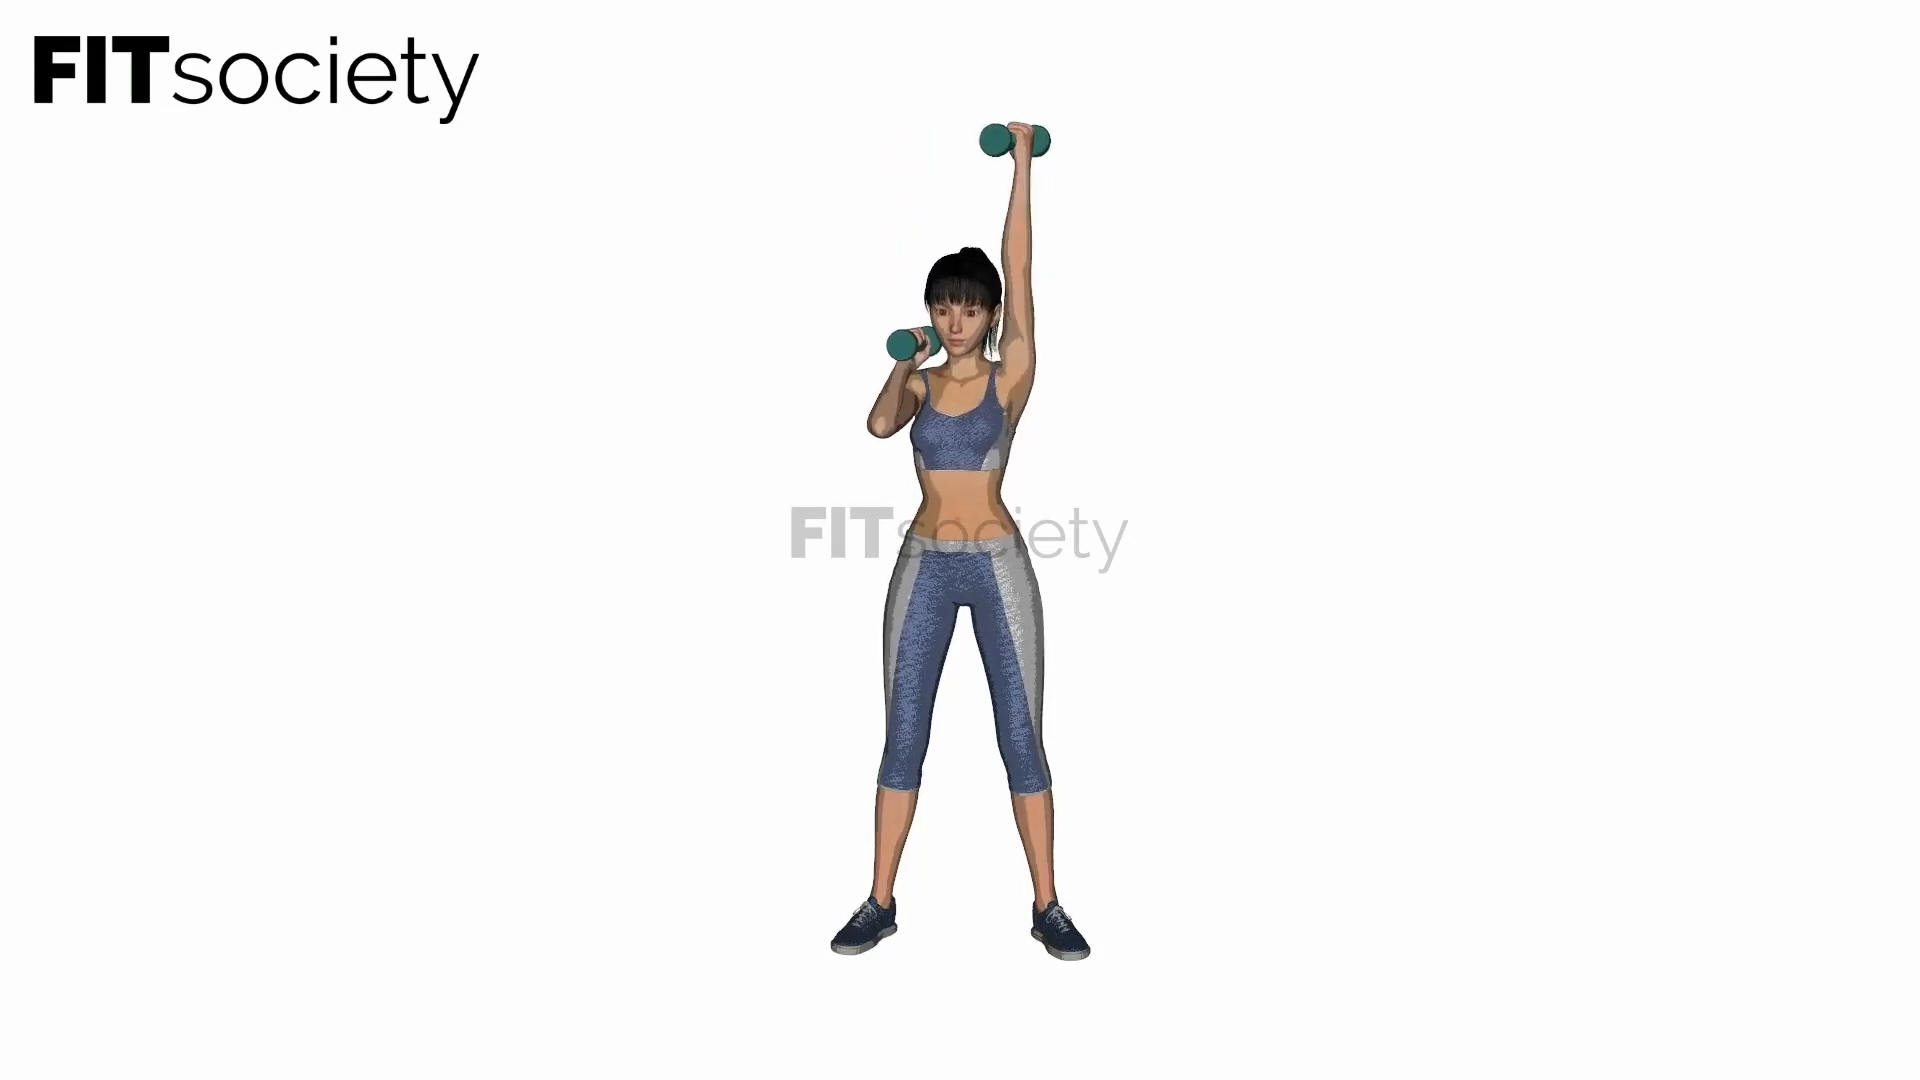
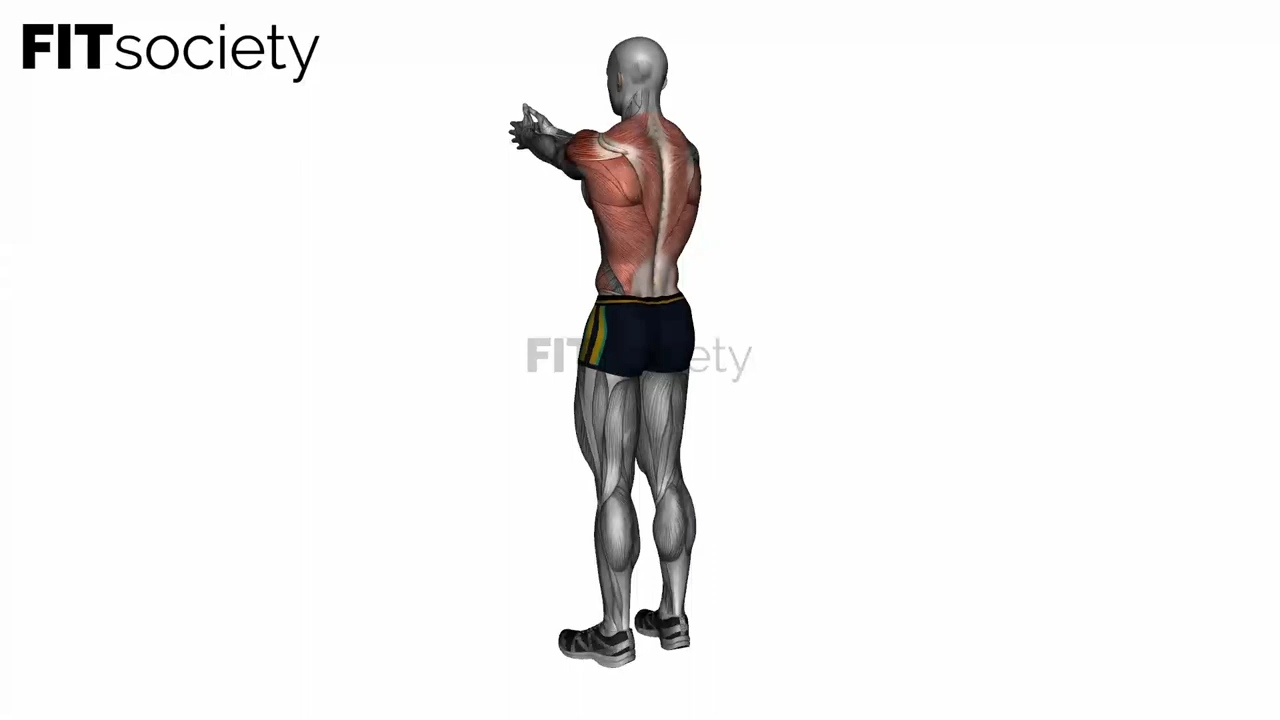
Pull your elbows backward at shoulder height. Let your hands follow, ending directly above the shoulders at ear level. As when proudly showing someone your biceps (the so-called ‘front double bicep pose).
-
2
Controlledly return your hands to the starting position.
Face pull
Muscles involved:
Back and shoulder joint:
- Deltoid (especially the side and rear heads)
- Rotator cuff (subscapularis, supraspinatus, infraspinatus, and teres minor)
- Levator scapulae
Arms:
- Biceps
- Forearm muscles
Back:
- Trapezius
Face pull setup
- Position the pulley somewhere between shoulder height and forehead height.
- Attach the double rope to the cable.
- Grasp the rope with a neutral grip (your thumbs point toward your face when holding the rope horizontally).
Face pull technique
The face pull deserves more popularity. Many people, for example, do lateral raises for the outer shoulders and reverse flyes, or bent-over dumbbell raises, for the rear shoulders. Few know that this exercise probably achieves both more effectively.
How high should you start?
This unjustified lack of familiarity unfortunately means that relatively little is known about the effects of different variations. We can only examine the differences in movement and try to identify advantages and disadvantages based on related research.
The height of the pulley is one such variable. There are no known measurements indicating what happens to activity in each head when the pulley is positioned very low or high. Still, it seems logical to assume that this shifts. With a low starting position, the upper arms must be brought upward and backward. With a start at shoulder height or even slightly higher, the arms only need to be pulled backward. With the low starting position, you might therefore expect (slightly?) more involvement from the front and middle heads of the shoulders.
However, a low starting position also means that the shoulders must rotate outward farther. This may instead mean greater involvement of the rear shoulder and the smaller muscles that externally rotate the shoulders (infraspinatus, supraspinatus, and teres minor).
Pronated grip or neutral grip?
With a pronated grip, you grasp the rope with your thumbs pointing toward each other and toward the middle of the rope. With a neutral grip, the thumbs point upward (or toward you when holding the rope horizontally as in the starting position) and toward the end of the rope.
With a neutral grip, there will be greater external rotation. This is normally a safer option, both for preventing complaints and for creating a better balance with the muscles responsible for internal rotation. These are greater in number and often better developed. In addition, it creates a more natural wrist position.
Alternatives
- Barbell rear delt raise
- Cable upright row
- Cable Y raise
Run your fitness business with more structure
- Planning, member management and coaching in one platform
- Built for coaches, studios and gyms
- Fewer separate tools, more overview