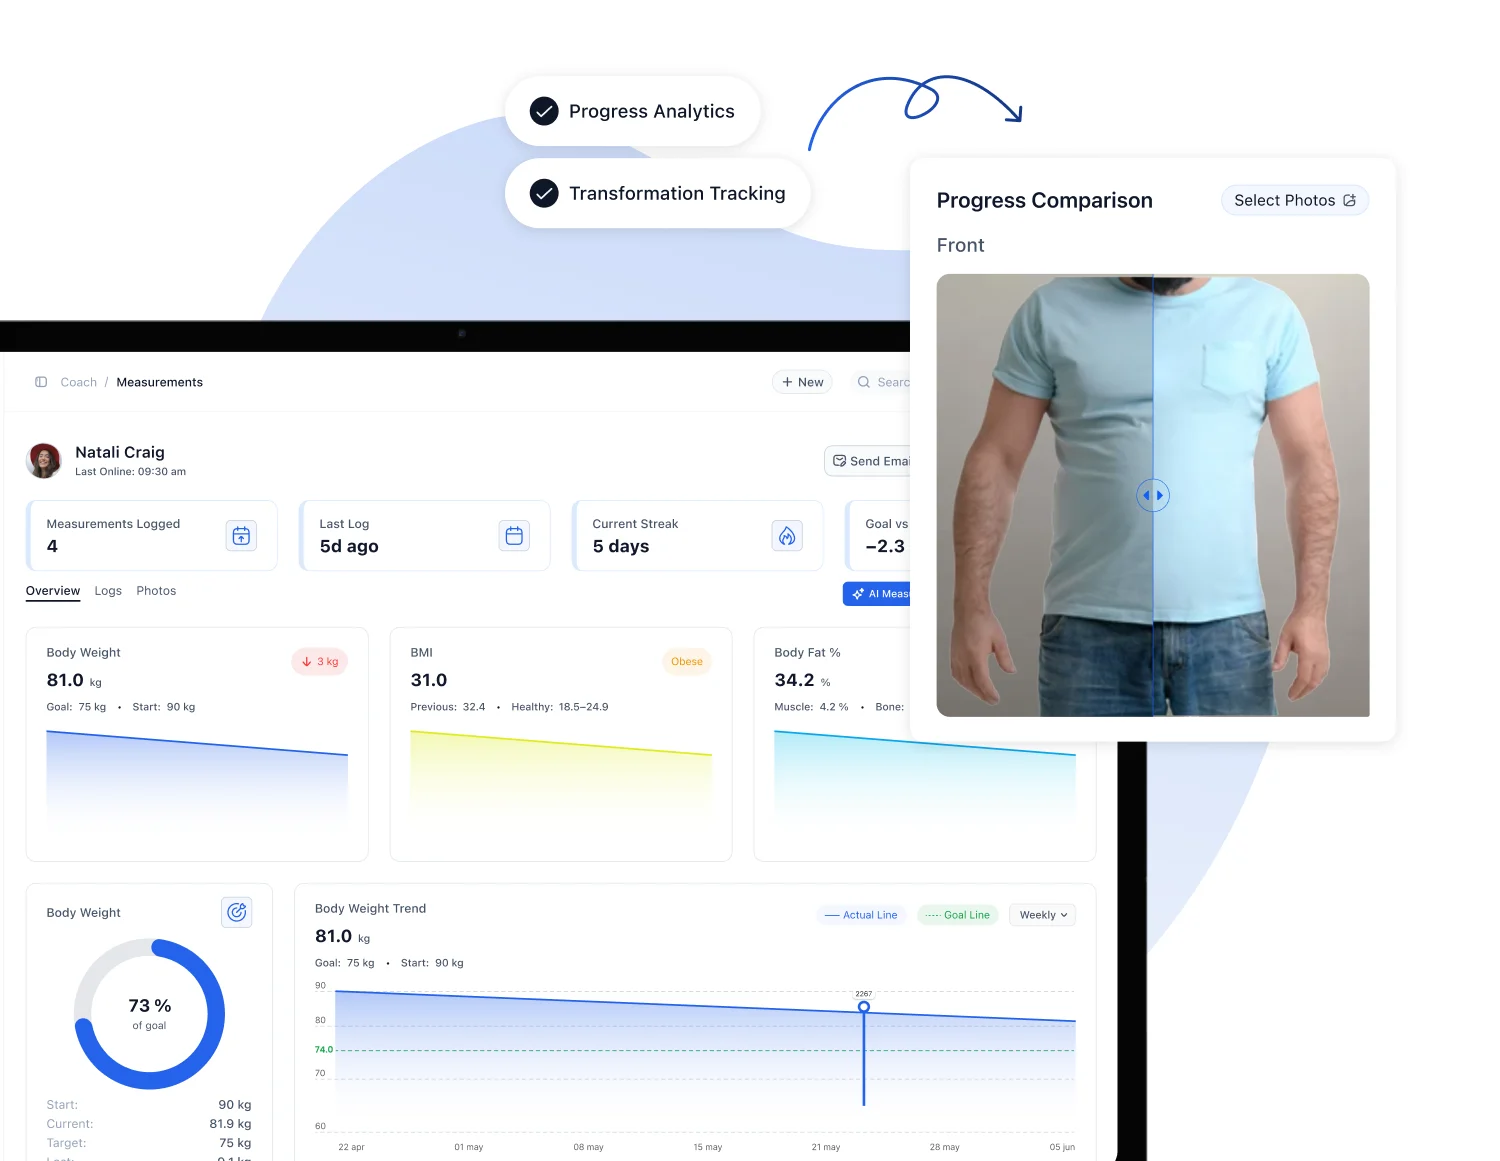
A complete personal training program is an evidence-informed, client-specific plan built on four fixed parts: intake and movement screening, program architecture, exercise selection, and a defined progression and review cadence. Skip any one of these and you’re building on guesswork instead of data. The templates and rules below fill in the specifics for each part.
TL;DR:
- Evidence-based programs require all four core parts; skipping any increases the risk of guesswork and ineffective training.
- Weekly monitoring of load, reps, and perceived effort helps trainers make small, targeted adjustments every four weeks to avoid plateaus.
- Use movement patterns to build balanced sessions, sequencing warm-ups, main lifts, accessory work, and conditioning in order to minimize fatigue impact.
- Select exercise variations that maintain movement patterns, allowing substitutions when equipment or client limitations arise, instead of changing the entire program.
- Flexibility in templates is essential; adapting volume, intensity, and exercise selection based on client goals and progress maintains continuous improvement.
What Are the Core Components of Personal Training Program Design?
Every program needs six components before you write a single set or rep. Miss one and you’re patching problems mid-cycle instead of preventing them.
Intake and goal clarification. Capture the client’s timeline, primary goal, secondary goal, and real-world constraints (schedule, equipment, injury history). A 28-step personalization method covers biometrics, lifestyle, and psychological readiness in more depth than a standard intake form, useful when programming for online clients you won’t see in person.
Movement screening. Check basic squat, hinge, push, pull, and overhead patterns for pain or major compensation. Red flags (sharp pain, joint instability, unexplained numbness) mean referral before programming, not modification.
Program architecture. Decide frequency, split, and session order before selecting a single exercise. This drives everything downstream.
Minimum monitoring data. Collect load, reps, and a subjective effort rating from session one, even before you have a full baseline.
- Intake: goal, timeline, training history, injury flags, equipment access
- Screen: squat, hinge, push, pull, overhead pattern quality
- Architecture: sessions/week, split type, session order
- Monitoring: load, reps, rate of perceived exertion, adherence
This matches the NSCA’s principle-based framework, which orders program design decisions by specificity, individuality, progressive overload, and variation, in that sequence.
How Do You Design a Personal Fitness Program Step by Step?
This six-step sequence turns raw client data into a working weekly plan. It mirrors the evidence-informed framework published in PMC, which pairs current research with practitioner judgment and treats regular testing as non-negotiable, since individual responses to training vary widely.
- Break down the goal. Convert “get stronger” or “lose fat” into a measurable target with a realistic timeframe. Record it in writing; vague goals produce vague programs.
- Choose your testing strategy. Pick two or three baseline metrics tied to the goal (1RM estimate, waist circumference, a timed conditioning test) and schedule retests before you start.
- Select interventions. Match training method to goal: strength work for a strength goal, metabolic circuits for a conditioning goal. Don’t default to one style for every client.
- Set your planned variables. Lock in frequency, volume targets, and rep ranges for the first four weeks. Write these down as rules, not guesses you’ll improvise each session.
- Build detailed weekly plans. Translate the variables into actual sessions, exercise by exercise, using the templates in the next section.
- Establish a review cadence. Set a fixed date, regular intervals, often about a month, to compare data against the plan and adjust.
Branching decisions come up constantly. If equipment is limited, swap barbell work for unilateral dumbbell or banded variations rather than cutting volume. If a new injury appears, regress the pattern (not the whole session) and keep training around it. If adherence drops below 70% of planned sessions, the problem is usually the plan’s complexity or timing, not the client’s motivation, so simplify before you escalate intensity.
Pro Tip: Build the first two weeks slightly conservative on purpose. A fast early win, like a visibly easier warm-up set or a quick rep PR, builds buy-in before you introduce harder progressions.
Exercise Classification and Session Sequencing
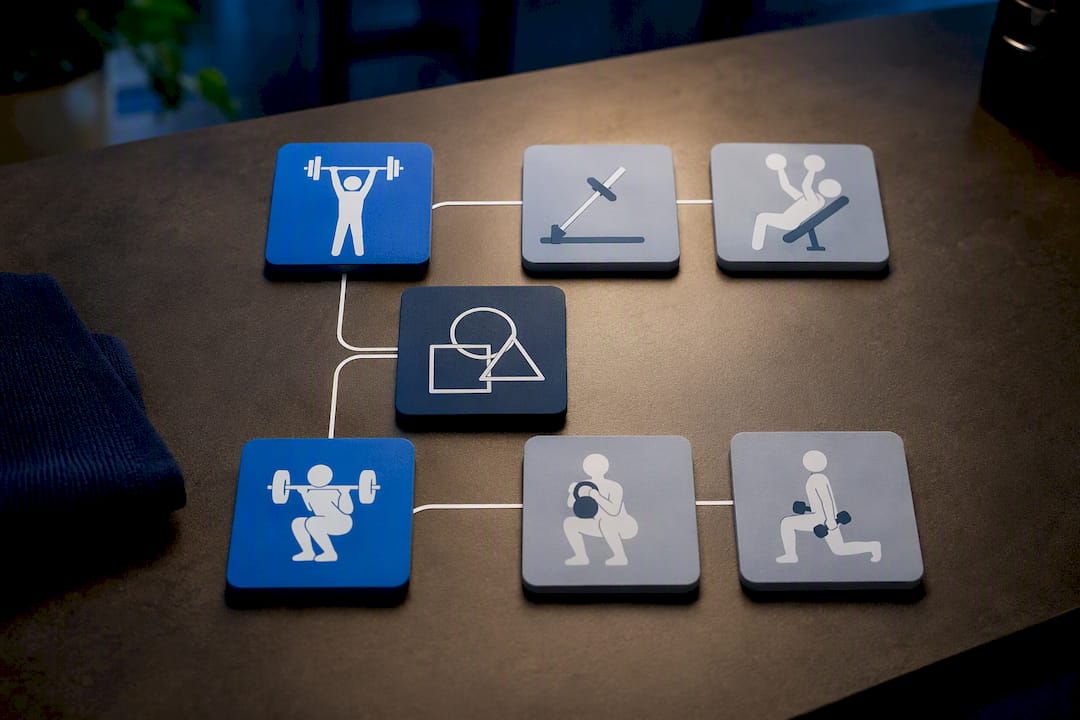
Group every exercise by movement pattern before you build a single session. This is faster than thinking exercise-by-exercise and it prevents accidental overlap or gaps.
The primary categories: squat, hinge, horizontal push, horizontal pull, vertical push, vertical pull, and carry/core stability. A well-rounded session touches most of these rather than repeating one pattern under different names.
Sequence sessions in this order:
- Prep: mobility and activation work targeting today’s primary pattern
- Primary: the heaviest, most technical compound lift of the session
- Secondary: a second compound movement, often a different pattern
- Accessory: single-joint or unilateral work targeting weak points
- Conditioning: metabolic or cardiovascular work, placed last so fatigue doesn’t compromise strength work
This order isn’t arbitrary. Fatigue from conditioning work degrades bar speed and technique on compound lifts, so save it for the end unless the goal is conditioning specifically.
For substitutions, work from pattern, not exercise name. A client with a shoulder limitation doing overhead pressing can switch to a landmine press or incline dumbbell press and keep the vertical push pattern intact. Someone without a barbell can replace a back squat with a goblet squat or split squat and lose almost nothing in terms of training effect. The pattern is the constant; the tool is negotiable.
Rep Ranges, Sets, Tempo, and Weekly Volume
Rep ranges should match the goal directly, not a one-size default. Strength work sits in the 1 to 6 rep range at higher loads. Hypertrophy work runs 6 to 12 reps with moderate to heavy loads. Muscular endurance work extends to 12 to 20 reps or higher at lighter loads. Most general clients benefit from spending most of their training time in the 6 to 12 range, since it builds both size and a strength base simultaneously.
Weekly volume benchmark: Current evidence points to roughly 10 to 20 working sets per muscle group per week for hypertrophy, with lower ranges appropriate when the emphasis shifts toward strength or fat loss. Start new clients at the low end of that range and add sets only after two or three clean weeks of recovery.
Tempo and rest depend on the same goal split:
- Strength work: 2 to 5 minutes rest, controlled eccentric, explosive concentric
- Hypertrophy work: 60 to 90 seconds rest, moderate tempo throughout
- Endurance/conditioning: 30 to 60 seconds rest, continuous tempo
For load progression, apply a simple rule: if a client completes all prescribed reps at the top of the rep range with clean form for two consecutive sessions, add weight. If they miss reps or form breaks down, hold the load and add a rep instead. This single rule prevents most of the guesswork trainers struggle with in week three or four.
Progression Models and Periodization: Which One Fits Your Client?
Four models cover almost every client situation you’ll encounter. Picking the wrong one is the most common reason plateaus show up early.
- Linear periodization: volume decreases and intensity increases over weeks or months. Best for beginners and anyone needing a simple, predictable structure.
- Block periodization: distinct phases (hypertrophy, then strength, then power) run in sequence. Best for intermediate to advanced clients training toward a specific event or season.
- Undulating periodization: rep ranges and intensity shift session to session or week to week. Best for clients who plateau on linear plans or need variety to stay engaged.
- Auto-regulated progression: load and volume adjust in real time based on daily readiness (using RPE or velocity feedback). Best for experienced clients who can self-report accurately.
Switch models when you see a genuine plateau (no progress across three consecutive sessions on the same lift), unexplained fatigue that isn’t resolving with normal recovery, or a shift in the client’s goal itself. A goal change from general fitness to a specific event, for example, almost always calls for switching from linear to block periodization.
Timing matters as much as the choice. Give a new model a real three to six week window before judging results; that’s roughly one full mesocycle. Longer-term clients on block periodization often run six to twelve week blocks per phase. Changing models more often than that just adds noise to your data and makes it harder to tell what’s actually working.
Monitoring, Testing, and Adjusting the Program
Weekly data collection should stay lightweight: load and reps completed per exercise, a session RPE, a quick readiness or sleep rating, and whether the session happened at all. This is the minimum a living-document approach requires, since small weekly adjustments beat large disruptive overhauls every time.
Run a formal review every four weeks using this checklist:
- Check load progression. Is the client hitting heavier loads or more reps than four weeks ago?
- Check adherence. What percentage of planned sessions actually happened?
- Check subjective recovery. Are readiness and sleep scores trending up, flat, or down?
- Check technical execution. Has form held up under increasing load, or degraded?
Adjust one major training variable at a time, such as volume, intensity, or exercise selection, so you can isolate what actually caused the result. Changing three things at once means you’ll never know which one worked.
Pro Tip: Keep a simple changelog next to each program version: date, what changed, and why. Six months later, when a client asks why their split changed, you’ll have the answer instead of a guess.
Ready-to-Use Program Templates
A monthly skeleton keeps the big picture visible: week 1 establishes baseline loads, weeks 2 and 3 build volume, week 4 either tests a new max or functions as a deload. Repeat with adjusted numbers.
Two starter templates cover most new clients:
- Beginner full-body (3x/week): squat pattern, hinge pattern, horizontal push, horizontal pull, core stability, each for 3 sets of 8 to 12 reps
- Intermediate upper/lower (4x/week): two upper-body days (push/pull emphasis) and two lower-body days (squat/hinge emphasis), a few sets per exercise
| Template | Frequency | Primary use case |
|---|---|---|
| Beginner full-body | 3x/week | New clients, general fitness |
| Intermediate upper/lower | 4x/week | Clients with 6+ months training history |
| Monthly skeleton | Ongoing | Macro-level planning across any split |
A sample session from the beginner template: back squat, 3 sets of 10 reps at a 2-1-2 tempo, 90 seconds rest, adding 5 pounds once all sets hit 10 clean reps.
For home or travel clients, keep the same session order but swap barbell moves for dumbbell, band, or bodyweight equivalents targeting the same pattern. NASM’s downloadable programming templates are worth reviewing for structured formats, particularly if you’re building corrective exercise or performance-focused variations.
Adjusting Templates for Different Client Types
The same templates flex easily once you know which lever to pull for each client archetype.
- Beginners: start at conservative loads, spend extra time on technique cues, and ramp volume slowly over the first 4 to 6 weeks rather than pushing hard early.
- Fat loss: keep the strength foundation intact but add conditioning blocks and increase session density (shorter rest, supersets) to raise total work capacity.
- Hypertrophy/strength focus: push toward the higher end of the weekly set range and schedule a planned deload every 4 to 6 weeks to manage accumulated fatigue.
- Low-equipment clients: increase density and use unilateral or tempo manipulation (slower eccentrics, single-leg work) to maintain training stimulus without heavy external load.
Why Judgment Still Beats the Template
Templates get a client to session one. What happens after that, the logging, the weekly tweaks, the small calls on whether to push load or hold steady, is where most real progress actually happens. A plateau rarely means the program failed; it usually means one variable needed a nudge two weeks earlier than you made it.
The best fix is almost always small: dropping a rest interval, swapping one accessory movement, adding a single working set. None of it replaces the judgment call of a trainer reading the data in front of them.
— Matthijs
How FITsociety Supports Program Delivery and Iteration
A software platform can be built around the exact workflow this article describes: intake, templates, delivery, logging, and review, all in one place instead of five disconnected apps. Client intake forms capture goals and constraints upfront, training plan tools let coaches build and adapt templates like the ones above, and progress tracking gives load, adherence, and readiness data for four-week reviews.

None of this replaces trainer judgment. Software platforms can handle administrative loads, log sessions, send check-in reminders, and track measurements, enabling trainers to spend more time interpreting data and making decisions to move clients forward. If you’re currently juggling a spreadsheet, a separate messaging app, and a payment processor, a consolidated coaching platform removes the friction between writing a good program and actually delivering it consistently. For a practical rundown of what to check before switching tools, review this checklist for moving to new fitness software, then start a trial at FITsociety to see the intake-to-review workflow in practice.
Sources
- Personalized, Evidence-Informed Training Plans and Exercise Prescriptions for Performance, Fitness and Health - PMC
- NSCA principle-based program design (PTQ)
- Programming Templates - NASM
- Designing Client Workout Plans: A Step-by-Step Framework | TrainersVault
FAQ
How Do You Design a Program for Personal Training?
Start with intake and a movement screen, decide program architecture (frequency, split, session order), select exercises by movement pattern, set progression rules, then review every four weeks using load, adherence, and recovery data.
What Is the 3-3-3 Rule in the Gym?
This isn’t a standardized industry principle; usage varies across trainers and gyms, so define any version you use explicitly with your clients rather than assuming a shared meaning.
How Do I Design a Personal Fitness Program on My Own?
Follow the same six-step framework trainers use: clarify the goal, pick two or three test metrics, choose training methods that match the goal, lock in weekly variables, build out sessions, and schedule a review date before you start.
What Is the 5-5-5-30 Rule?
Like the 3-3-3 rule, this isn’t a defined standard across the field; if you’ve seen it referenced, check the original source’s specific definition rather than assuming it’s universal.
How Often Should a Training Program Change?
Give a new progression model a three to six week window before judging it, and run a full mesocycle change, typically six to twelve weeks, for larger periodization shifts like moving from hypertrophy to strength phases.